The Lazy Cosplayer's Guide: How To Shorten a Metal Zipper

Originally published on Patreon (October Early Access).
This tutorial is brought to you by my wonderful Patrons who I had vote on what my next tutorial would be!
Well, kind of. They voted, and it was a tie, so I ended up having to choose myself anyway.
So zippers. Shortening them seems pretty simple, right? You just cut off the bit you don’t need and--oh. Suddenly the zipper pull has fallen off and your zipper is unusable. Welp.
If you’re just using the zipper as a closure for something this isn’t as big of an issue, but if you need something that’s both functional AND front and centre as a decorative bit then you might run into some problems. Thankfully, there is a solution.
Important note! This method only works on metal separating zippers. Nylon? No go.
What you’ll need:
metal separating zipper (longer than the length you need)
small needle nose pliers
jewellery wire cutters

How to do it:
Grab your zipper! Using chalk, mark how long you need the zipper itself to be on the fabric. This is where you’re going to start removing teeth.
Taking the wire cutters, pinch the tooth at that point perpendicular to the edge of the fabric with the sharp part sitting just under the end.

Squeeze the cutters so that you loosen the tooth from the edge of the fabric. Don’t worry if you’ve mangled it, you’ll be tossing the teeth you don’t need anyway. The main thing to be careful of is making sure you don’t damage the raised edge of the zipper tape since that’s what you’ll need to anchor the stop when you move it.


Repeat these steps for the next few teeth above this point, as well as the one below your chalk line. You want at least an inch of clear tape for trimming later on.


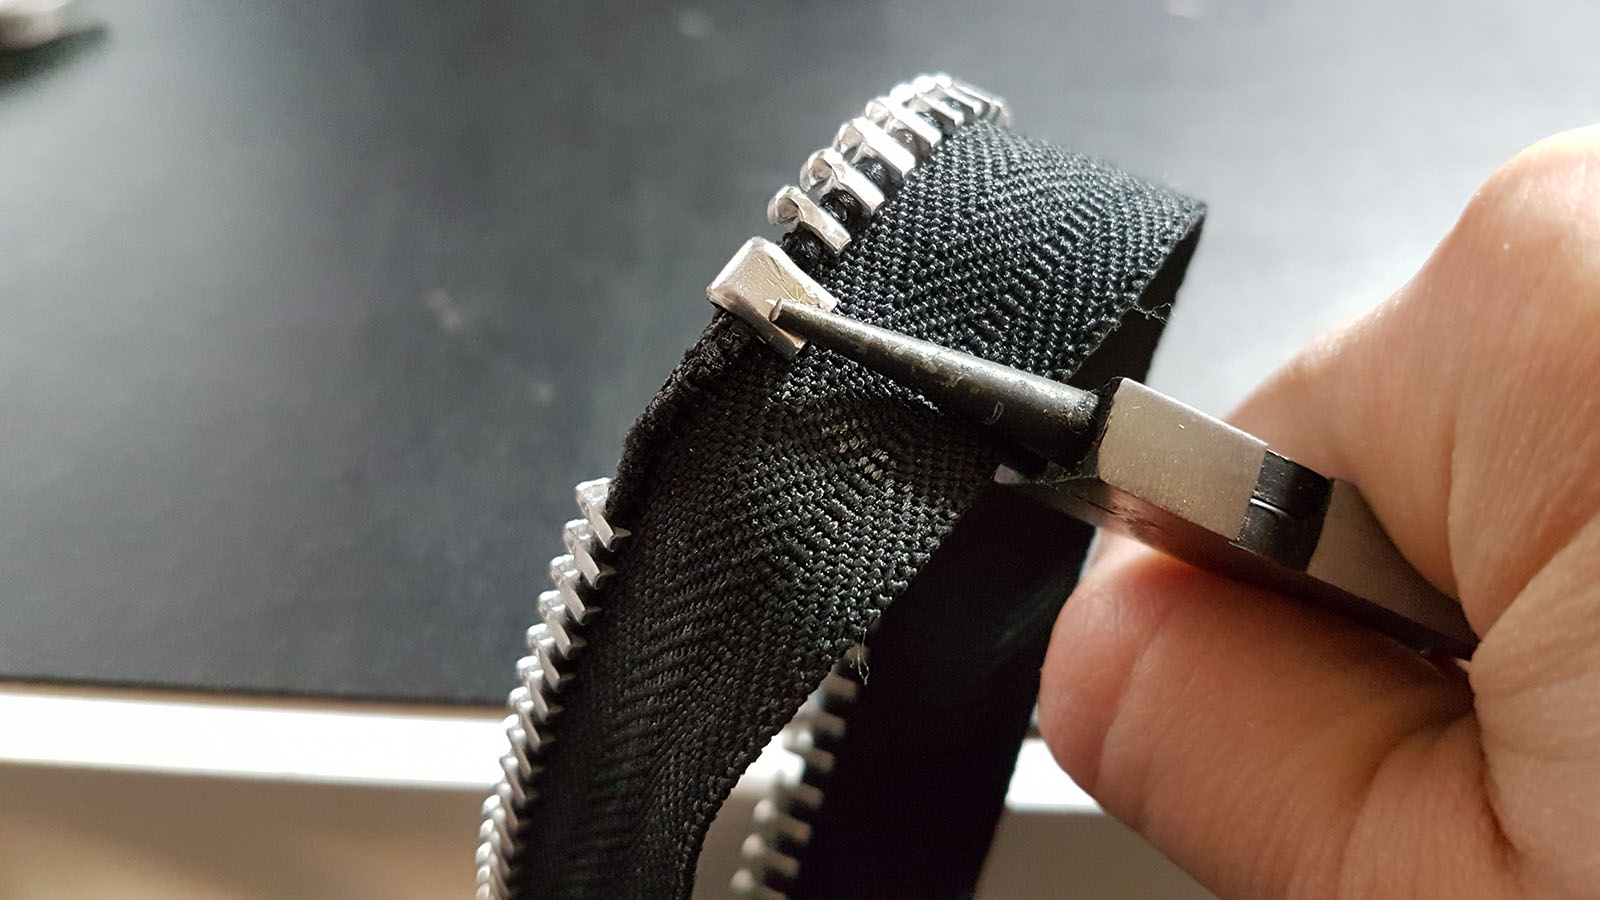
Go to the end where the zipper stop is. Using the cutters, place the sharp part just under the edge of the stop, as seen below. The idea is that they’ll act as leverage to open the stop enough to slide it off without damaging it. It’ll take a bit of shimmying, but eventually you should be able to get it loose enough to pull off.


Using the needle nose pliers, gently widen the zipper stop opening to make it easier to place back onto the zipper tape.


Take the zipper stop and clamp it over the edge where you marked your line on the zipper tape. Use the pliers to squeeze it shut from both sides.


Yay, you’ve shortened the zipper! Feel free to trim the tape down at this point. I usually leave about ½ - ⅝ inch of extra tape. If you have a set of pinking shears, you can pink the edge to prevent it from unraveling. Otherwise fray check will also work just fine.


Now repeat for the other side and you’re done!
That’s all for today. Please feel free to leave a question or comment either below or on Twitter. Remember, you can get early access to these tutorials on my Patreon by subscribing to the Donut Tier! The poll for my next tutorial will also be available to patrons, so if you’d like your say on what I do next, that’s your surefire way to do it.
— (。ゝω・。)ゞ