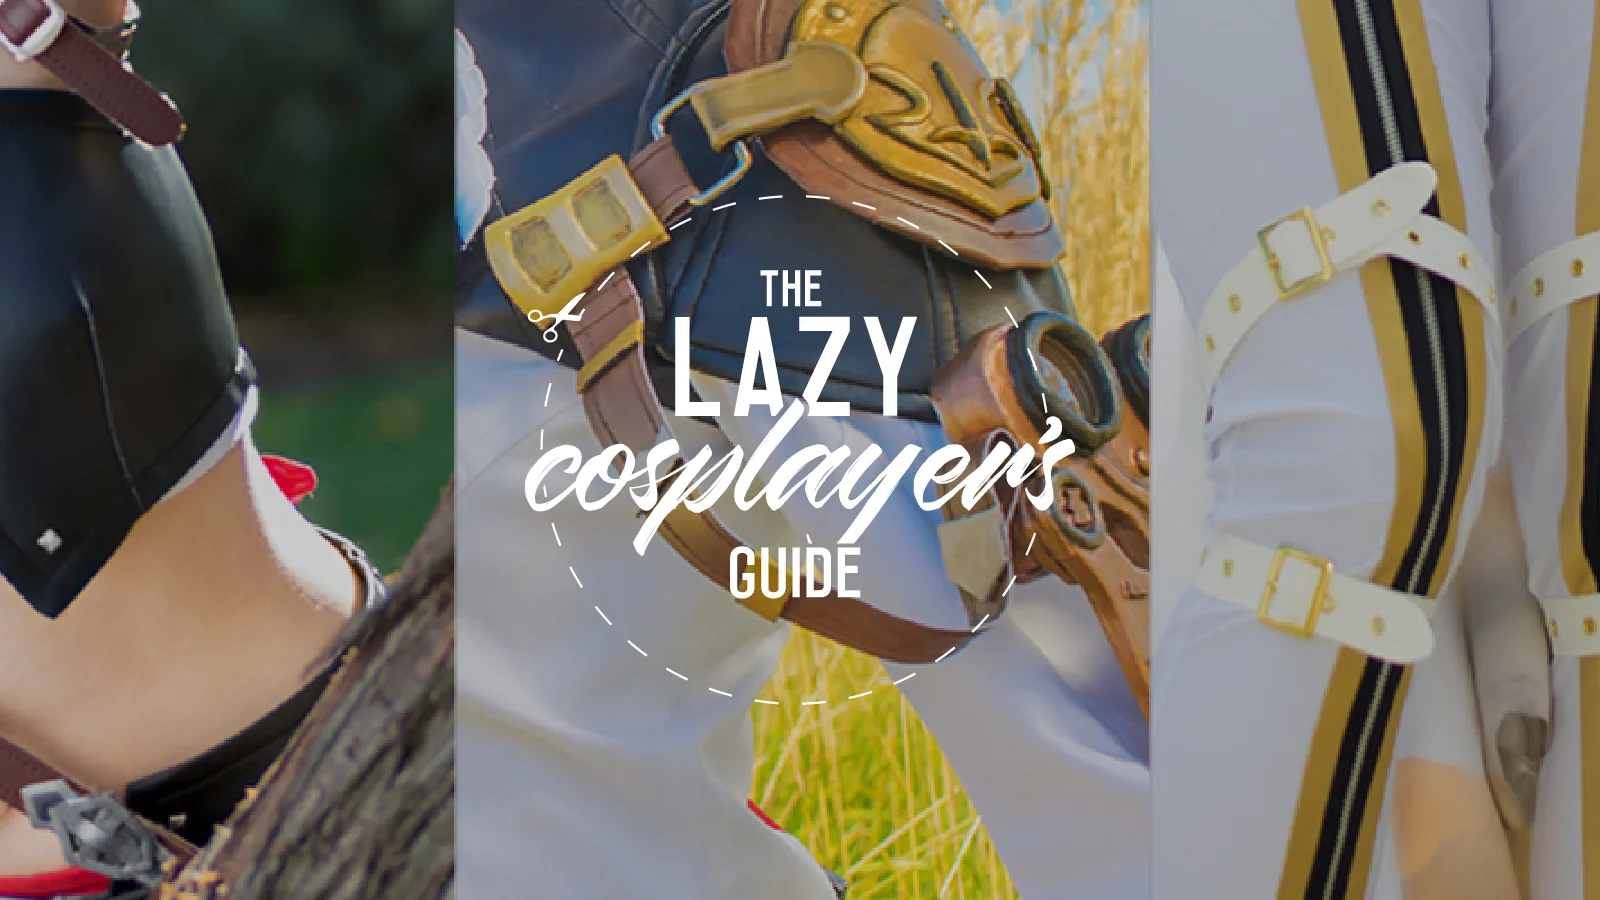
The Lazy Cosplayer's Guide: EZ Belts
Originally published August 16, 2017.
How many of you hate making belts? They’re the worst, yet for some reason a staple in every other character designer’s arsenal. It’s like they know that we cosplayers hate trying to make them so they put as many as they possibly can into an outfit (looking at you, Tetsuya Nomura). But fear not, cosplay friends, for I have a solution to your belt-y needs.

L-R: Miqo'te, Y'shtola, Bride Saber
I originally discovered this method when I had to make a bunch of thin straps for my Final Fantasy XIV Miqo’te and the only leather-look material I had was thick upholstery vinyl. Since then I have used this to make the belts on my Y’shtola, Saber Bride, and Dizzy costumes with great success. Heck, I’ve won awards using it. That means it’s good, right? I recommend using it for thin belts (1″ wide or less), though you can use it for belts that are much wider depending on the fabric/use of structural layer.
What you’ll need:
- fabric of choice (recommended fabrics: fashion vinyl or pleather, upholstery vinyl – must be fabric-backed*)
- Ultra Hold HeatnBond
- cotton press cloth (REQUIRED IF YOU PLAN TO USE VINYL)
- iron
- hard heat-proof surface
- teflon foot (optional)
- leather machine needle (optional)
- thread (top stitch thread recommended, but also optional)
* If you plan to use upholstery vinyl, make sure you have a thinner backing fabric to fuse it to. Cotton twill is perfect for this.
How to do it:
Grab your fabric! I prefer to use fashion or upholstery vinyls for this to really give the illusion of real leather belts, but really anything works. Most of the structure of your belt will come from the HeatnBond anyway so as long as it’s not a sheer it’ll be fine. If you use something that frays easily I suggest keeping a bottle of fray check around as the HeatnBond might not seal the edges entirely. If there are creases in your vinyl, take an iron on LOW heat and NO steam to the back (fabric) side and press firmly to remove them. You need your fabric to be completely smooth for this to work.

I bought this fashion pleather from Fabricville.
Measure the length of the belt(s) you need. Don’t worry about the width just yet. Cut two pieces of your fabric (or a piece of your fabric and whatever you want to use for backing) to that length plus a little extra and no more than a foot wide; multiple thin sheets are easier to work with than one giant one. I add a couple of inches to both ends just to be sure. At this point it’s okay if it’s not perfectly even since you’ll be cutting it later.

Unroll your HeatnBond and cut that to slightly shorter than your fabric, but longer than what you measured. If you’re making a longer belt for something that goes around your waist, or otherwise, you may need to cut several pieces. This is fine.

Following the directions for the HeatnBond (silk setting, no steam), fuse it to the back side of your front-facing fabric on top of a hard, heat-proof surface. Press firmly and make sure you don’t hold the iron over one spot for too long or else it’ll do weird things to the adhesive. If you are using multiple pieces of HeatnBond, make sure there are NO GAPS in the adhesive. You may need to lift the pieces you just fused and overlap them to be sure.


Remove the paper backing from the HeatnBond. If all went according to plan, you will now have a sheet of fabric with heat-activated glue on the back. If there are any spots where the adhesive has lifted because you put too much heat on it, peel it off and try again. It should look milky, not clear.

Be careful not to peel off the glue with the paper. Trust me, it happens.

You can see where I got a bit impatient.
Grab your second piece of fabric and place it on your ironing surface, right side down. Put your first piece on top with the glue side down and make sure they line up so that the glue doesn’t hang off an edge. Cutting your second piece slightly larger than the first helps with this. If you are using upholstery vinyl with a cotton backing, your backing will be on top instead as the vinyl will be too thick for the heat to penetrate properly.


Press your fabrics together following the HeatnBond directions. MAKE SURE YOU USE A PRESS CLOTH IF YOU ARE USING VINYL. I WILL TAKE NO RESPONSIBILITY FOR MELTED PLASTIC STUCK TO YOUR IRON BECAUSE YOU DIDN’T FOLLOW INSTRUCTIONS. You are basically laminating your fabric pieces together. Press firmly and hold for a maximum of 1-2 seconds before moving to a new section as any longer may melt the vinyl to the press cloth. Really take your time with this to make sure things are fused. Thicker fabrics will take longer for obvious reasons. That said, this step has a bit more leeway in that you can go over the areas you pressed if it didn’t take the first time. Every few passes I stop and pull apart the corner to see if the glue has been activated.


Don’t worry if you missed spots like this; you can get it with the iron later.
Using a ruler, measure out and mark your belt lengths and widths on the fabric on whatever side you don’t want facing outwards (if you used a different backing fabric, do it on that), making sure to stay within the bonded areas. If I have a non-vinyl backing I’ll use a pencil, but any thin pen in a colour similar to your fabric will work as well. For blacks I recommend getting wax tailor’s chalk since it marks the fabric clearly and removes with a small amount of heat. You should be able to get several belt strips from one sheet, which is one of the reasons why this is great for mass-producing belts for costumes that need a lot of them.

These are great. Invest in some if you can.

Once everything is marked, cut them out! A rotary cutter and self-healing mat would be super duper useful for this step, but because I don’t have either, I just use a pair of sharp scissors and cut carefully. It’s not perfect, but if you’re close enough to notice that my belts don’t have ruler straight edges then you are standing too damn close.

Congratulations! You have belts! If there are any pieces that didn’t take the bonding entirely, now is the time to go back and give them another pass of the iron to fix it.


OPTIONAL STEP: Using your sewing machine, edge stitch your belts to reinforce them and add extra ~*~detail~*~. I use a leather needle to ensure it’ll go through all three layers (yes, the adhesive is considered a layer) and a teflon foot to make the vinyl run through my machine smoothly. Note that you will need to clean the gunk from the HeatnBond off your needle every so often as it will build up. I recommend doing this if you plan on using your belts to support or secure something as it’ll prevent the fabric from potentially stretching and tearing. Not that this has happened to me (yet), but better safe than sorry. As for stitch length, the exact setting will vary depending on the model of your machine. I use something just a bit under the maximum length because aesthetically it looks the nicest and it helps me go around curves at the end of the belt.


From here you can do pretty much anything you want with them. I’ve sewn them together, added rivets and snaps, attached buckles, glued foam armor pieces to them, added a bias tape border, et cetera. If you used vinyl, you can weather them easily with alcohol inks (I use Copics) or paint, which is what I did on the straps holding the Aether goggles and shoulder armor on my Y’shtola to make them look like real leather.
I have questions!
Shoot.
Can I use regular HeatnBond instead of Ultra Hold?
Yes… kind of. Regular HeatnBond is meant for sew-on appliques, whereas the Ultra Hold specifically states it’s “no sew”. You will need to edge stitch your belts to make sure they stay together. I also wouldn’t recommend using it for load-bearing straps. Decorative would be fine though!
The only fabric that matches my costume is stretchy! Will this still work?
Yep! Most fashion vinyl is either 2-way or 4-way stretch so if that’s what you plan to use it’s inevitable anyway. The HeatnBond is what provides the support, not the fabric, so once you’ve laminated your pieces together most of the stretch will be gone.
Are straight belts the only thing you can make this way?
Nope! You can cut any shape you want out of the laminated fabric. Curved belts, decorative pieces, leather armor… the sky’s the limit. I’d just suggest keeping it to small pieces, as HeatnBond can get pricey depending on where you get it from.
My fabric is really flimsy… I have concerns.
If you’re really worried about the structural integrity of your belt, you can reinforce it by sandwiching a piece of upholstery vinyl between your two fabric pieces. It’s a bit of extra work since you need to repeat the method for each side, but the result is incredibly strong and durable and great for wider belts (2″+). If you plan to use something fancy like a satin weave, or lycra for your belt, I highly recommend doing this. A non-belt example of this are the shin and arm guards for my Kasumi from Dead or Alive, which uses blue shantung on one side and gold taffeta on the reverse, and also has a sewn bias tape trim. So it’s a technique with multiple applications!
Where do you buy your vinyl from?
My favourite store to buy from right now is on eBay: Korean Vintage Cotton Minky Fabric. As you might have already gathered they’re located in Korea, so shipping takes a while (about two months) if you go with the cheap option. That said, they have the best colour variety for vinyl I have ever seen from an online store for incredibly reasonable prices (especially for a Canadian like me). I’ve yet to try any of their other fabrics, but I will 100% vouch for their vinyl!
Wait, aren’t you supposed to not iron vinyl?
I like to live dangerously.
But really, it’s fine as long as you don’t put the iron directly on the plastic surface, use a low heat (polyester setting works), and make sure to keep it moving instead of holding it in place for too long. Also use a press cloth! I can’t emphasize this enough! I made mine by taking a pair of pinking shears to a scrap of unbleached muslin I had laying around, but any kind of unbleached or white cotton will do. I have to store my fabric folded due to a lack of space so my vinyl ends up creased pretty bad if I haven’t used it in a while. A quick press on the reverse side fixes it up nicely!
Is this really that lazy?
I mean… I came up with it after I decided I didn’t want to spend half a lifetime doing belts the “proper” way by sewing and turning them out so you tell me?
I think that covers it, but feel free to leave a comment or shoot me a message on Twitter if there’s something that’s not clear or you need help. Otherwise, happy belt-making!
— (。ゝω・。)ゞ